
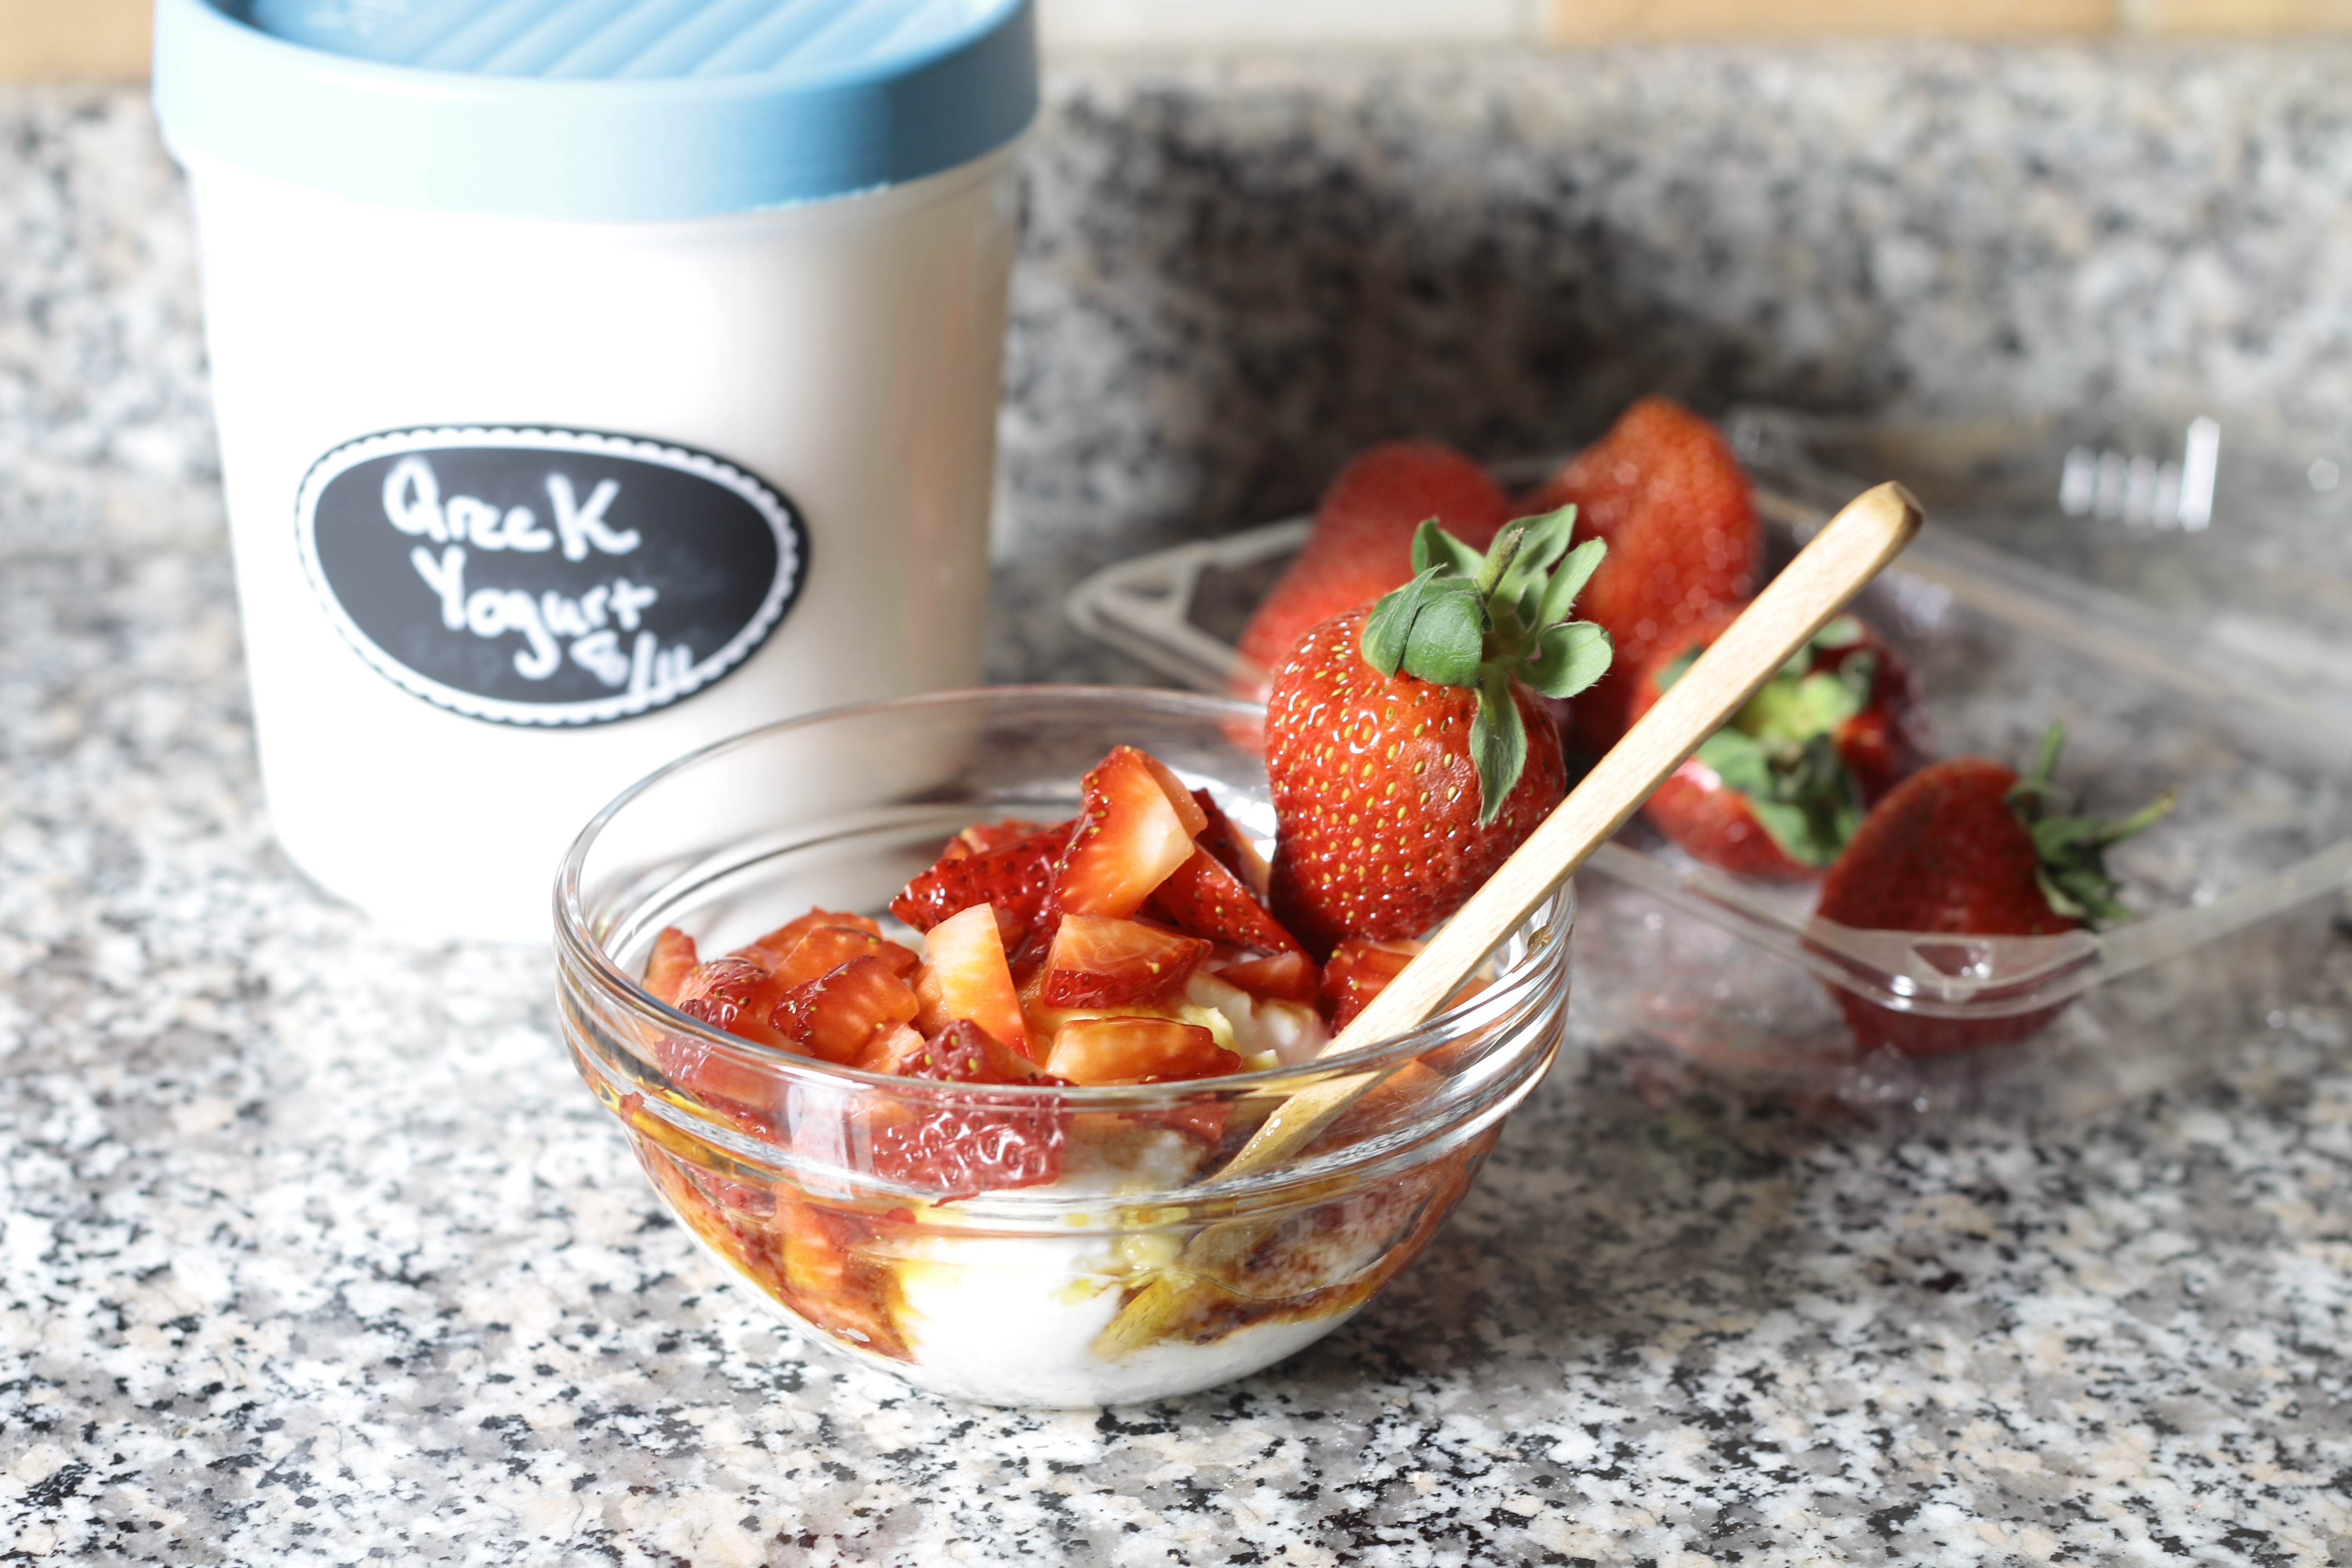
Lulu relied on her Cuisinart Electronic Yogurt Maker ($89.47 on Amazon), a beautiful gadget I can not get here in Kuwait. For the lovely creamy texture she strained it in a Euro Cuisine Greek Yogurt maker ($16.20 on Amazon). If you want a fool proof way to make yogurt inves the hundred bucks and get these two machines.
I had to settle on a Lake Land yogurt maker. It was small, and only made one pint of yogurt at a time. But, it was definitely better than the single cup servings. I substituted my small strainer and some muslin squares for the Euro Cuisne Greek Yogurt maker.
The first batch (and a lot of mistakes)
In her book Better Made At Home: Salty, Sweet, and Satisfying Snacks and Pantry Singles, Esterella Paynay adds evaporated milk to thicken the yogurt. I had some left from a previous cake recipe, and figured I would try it with low fat milk.
I first diluted the evaporated milk into the cold milk. The yogurt maker’s manual said to use cold milk, but to make sure it was left in the yogurt maker for at least 8 hours. It recommended heating the milk to reduce the cooking time, but said nothing about how it would change the flavor of the yogurt. Since I was about to go to bed and wouldn’t have time to check it for at least 8 hours, I went with cold milk. I mixed it with 1/4 cup of Alban Greek Yogurt , poured the mixture in the plastic container, placed the container in the incubator. and waited 8 hours.

The next morning I had yogurt. But, it was runny and quite sour. I poured it into a mesh strainer lined with the muslin and put it in the fridge.

About 2.5 hours later, the yogurt was a nice thick texture, though more dense than what I had at Lulu’s. It only yielded about a 1/4 pint of yogurt, and it was really sour. Something had gone very wrong. This was nothing like the creamy yogurt I had in Montreal. Besides, it had taken a full liter to get just enough yogurt for a single serving.

My housekeeper Usha saw my face as I tried my sour yogurt and laughed at me. “Why do you have that machine?” she asked me. “In India we just put it in a pot and wrap it with lots of towels. Then the next day we have yogurt.”
I went back to the internet to see what other people had tried. Sure enough, yogurt is made in all kinds of containers, with all sorts of methods. Some recipes like this How To Make Yogurt at Home from TheKitchn.com heat the milk to 93 degrees Celsius ( 200 degrees Fahrenheit) before letting it cool to 43 degrees Celsius (110 degrees Fahrenheit). The longer you let it sit, the thicker and more tart it will be.
It took another four batches before I found the best way to make yogurt that I like. I wanted it thick me but I also didn’t want it to be too tart. Once I got the hang of it, there was no stopping me.
Eureka!
I used Almarai fresh whole milk, which we now have on special for 1 KD ($3.28) for 2.87 liters. I heated 2 liters to 180 degrees Celsius, and keep it between that and 200 degrees Celsius for about one hour. I found that if you do this step the yogurt thickens faster, which means you get a less sour but thicker end product. I then took it off the stove and waited for it to cool at 110 degrees Celsius.
A lot of recipes tell you to mix the yogurt you have as a starter into the milk. However, my yogurt came out best when I followed Alana Chernila’s advice in her Craftsy class The From Scratch Kitchen. She recommends you don’t mix the yogurt in at all, but rather pour the milk over your starter and disrupt it as little as possible. I have started my yogurt with as little as a couple tablespoons to as much as a full cup of yogurt. It’s not an exact science. You just have to have enough good bacteria like lactobacillus and bifidobacterium, and a warm place for it to grow.
Which brings us to where you can either spend a couple hundred dollars, or use what you have and really anywhere in between. Since I had already bought the Lakeland yogurt maker, I didn’t want to spend anymore money on this project. So I opted for a Ziplock plastic container that holds 2.21 liters and has an airtight seal (it also fits perfectly in the bottom shelf of my fridge). I put the yogurt in first, then poured in my warm, fermented milk. I wrapped it in four towels, alternating between wrapping it horizontally then vertically. I then put the whole thing in a t-shirt, which I put in a laundry bag and then into my lit (but off) oven for 12 hours.
That night I had about a liter and a half of yogurt. I put it in the fridge over night so I could strain it when it was cold. In the morning, I gently transferred the yogurt into an IKEA strainer lined with a large muslin square, and let it sit for another 2 hours in the fridge.

THERE! That was the yogurt I had in Montreal! Well, close enough. My two liters of milk had given me a pint of really creamy Greek yogurt. I still finished that first batch in just a day, but that was more gluttony than anything else. Now making yogurt is so easy, and I can’t ever imagine buying it from the store again.
- 2 L Milk
- 2 tbs - 1 cup of your favorite yogurt*
- Heat milk to 180 - 200 degrees Celsius over a medium high heat. (About 10 minutes)
- Simmer for one hour on low heat.
- Turn the heat off, let stand for one hour. Do not let it get cooler than 110 degrees Celsius.**
- Put your yogurt into the container you want your yogurt to culture in.
- Pour the heated milk into the container. Do not stir or mix. Just close the lid.
- Wrap the container in a warm blanket, or a couple towels. (I wrap it with two towels, put it into a shirt and then put the whole thing in a laundry bag, Whatever keeps the heat trapped in the container you are using.)
- Put it in a warm dry area (like your oven with the light on) for 12-24 hours.***
- Unwrap the yogurt and chill until ready to eat.
- Chill the yogurt for one hour
- Line a mesh strainer with a muslin square or cheese cloth
- Transfer the yogurt to the strainer without breaking it up too much.
- Chill for 2 hours.****
- Remove from the strainer and keep refrigerated until ready to eat.
- *You can make as much or as little yogurt as a time that you like. You should have at least half a liter of milk and two tablespoons of yogurt to start.
- **The bacteria needs a warm environment to grow, but not too warm or it will kill it. Feel the pot before you pour it on your culture or use a thermometer to make sure it's still warm, but not scalding. If it's too cold the bacteria won't grow and you will still have milk in 12 hours.
- ***The longer you leave the yogurt the firmer it will be, but the more tart it will be too.
- ****Straining it for longer will give you labnah, a totally different but equally delicious dairy treat.

[…] Continue to Part II: How to Make Homemade Yogurt […]